
Bringing my farmhouse dreams on an apartment budget to life one DIY project at a time.
First up, the kitchen table.
OUT WITH THE OLD. IN WITH THE OLD?
( I forgot to take an official “before” photo of the table, so I dug this up. The spiders at our home are unusually big but harmless. They even pose for pictures.)

We were given this kitchen table set for a wedding gift 8 years ago. Perfect then, not so much now. The once desired espresso finish turned into a scratched up nightmare. The rich color no longer stood out against the dark brown flooring that was recently added and it all became a very undesirable blah!
Yes, I was itching for a brand new table. However, budgetary constraints forced me to redefine new. Isn’t it great how budgetary and space limitations force creative adjustments? I would get my new table, by way of a DIY refinish job. So I gathered my materials:
Citristrip Stripping Gel, goggles, gloves, industrial garbage bags, 4 aluminum foil pie pans, paint brush, sponge brush, drop cloths, steel wool #0000, scrapers, sander with 220 grit sandpaper…
and went to work.
AM I DONE YET?


I had to apply several applications of the Citristrip. Since using another chemical, like mineral spirits, to help remove the residue was not an option for me, I used the steel wool pads with soapy warm water mixture (dish detergent) to scrub down the excess stain before finally sanding. I also experimented with vinegar, isopropyl alcohol and bleach on three separate occasions to test their success with removing residue. They made some progress but nothing worked better than the Citristrip, a steel wool pad and some muscle with the exception of sanding of course. It was around this time that I discovered my table is not wood but actually laminate. You know the stuff that most kitchen cabinets are made from. I didn’t let the disappointment stop me.
It took me about a week to complete this project because it turns out there are also 4 legs with 4 sides each to them plus 4 apron sides to the table as well that needed the exact same attention as the top. Let’s not talk about the chairs. Yeah…no return. Remember to prepare yourself for some pretty long days applying, scraping and cleaning when you embark on your table and chair refinish project.

")

Although very messy and time consuming -all the nooks and crannies between the table and chairs left me worn out- it is very satisfying to have persevered and to get to see everyday the results I once imagined.
DELIBERATELY IMPERFECT
I thought I’d need to re-stain, well, paint the table (It’s laminate!) in order to get the rustic, worn look I wanted. But it turned out just fine after stripping and sanding. Yay! (Plus I was tired.)
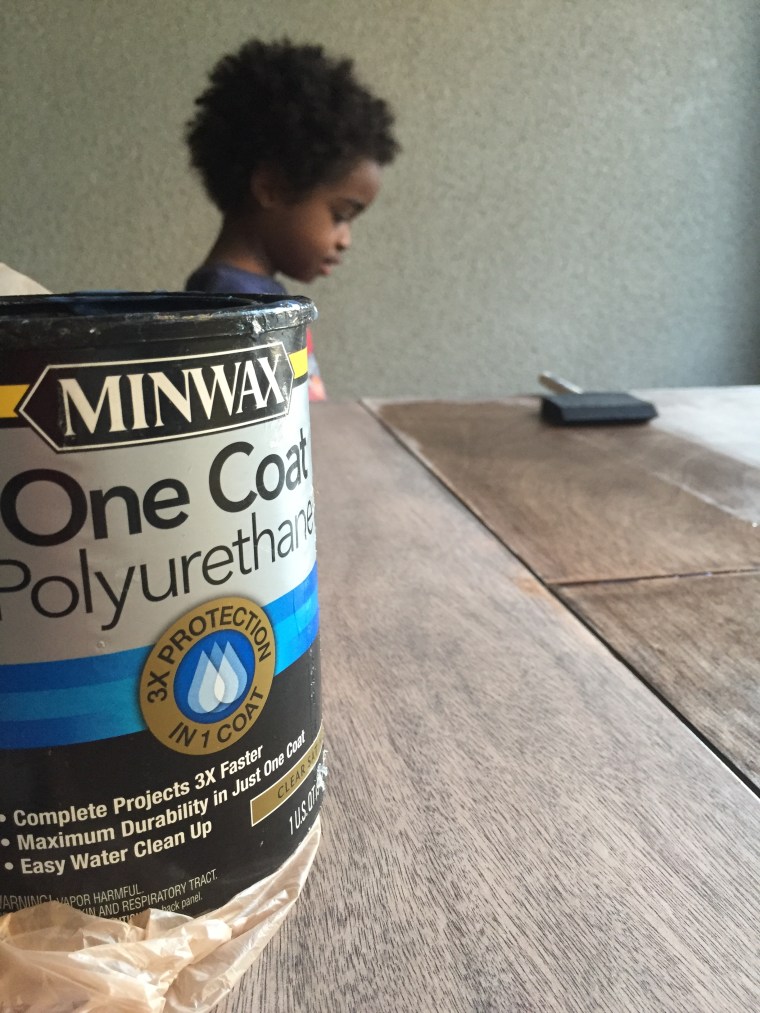
Finally, I used Minwax One Coat Clear Satin to finish off the job.


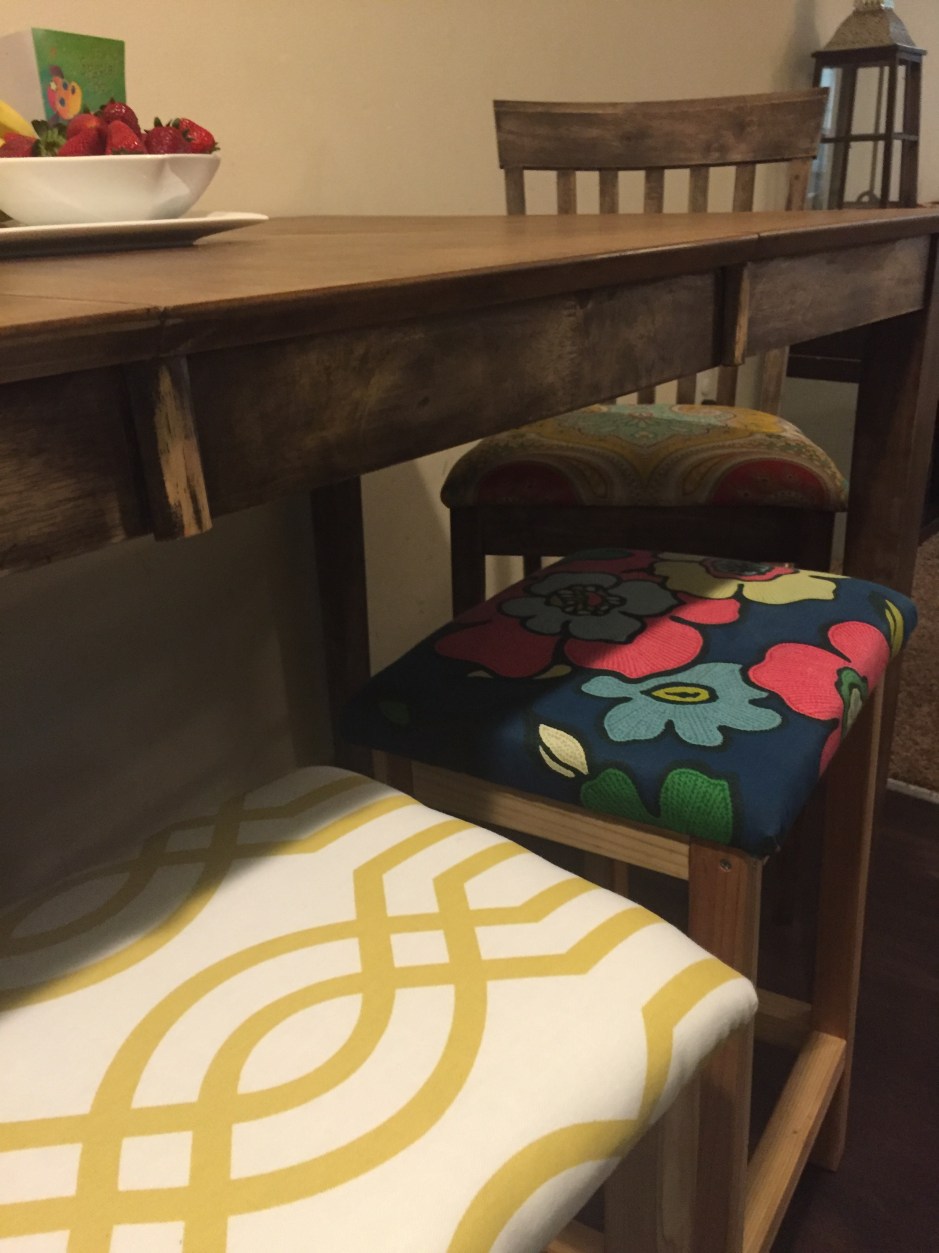
Next on the list to farmhouse dreams on an apartment budget: Simple bar stools and upholstered seating.
Thanks for reading,
altesa
My DIY Epiphany: Don’t give up. Take a break. Get perspective, but don’t give-up.


2 thoughts on “The Kitchen Table: Farmhouse Dreams on an Apartment Budget”