What About Those Chairs?: Farmhouse Dreams On an Apartment Budget

IMG_7392.JPG

Bringing my farmhouse dreams on an apartment budget to life one DIY project at a time.

Next up: The chairs.


It all comes down to a vision.  When I lock into one, it’s on and the real fun begins.

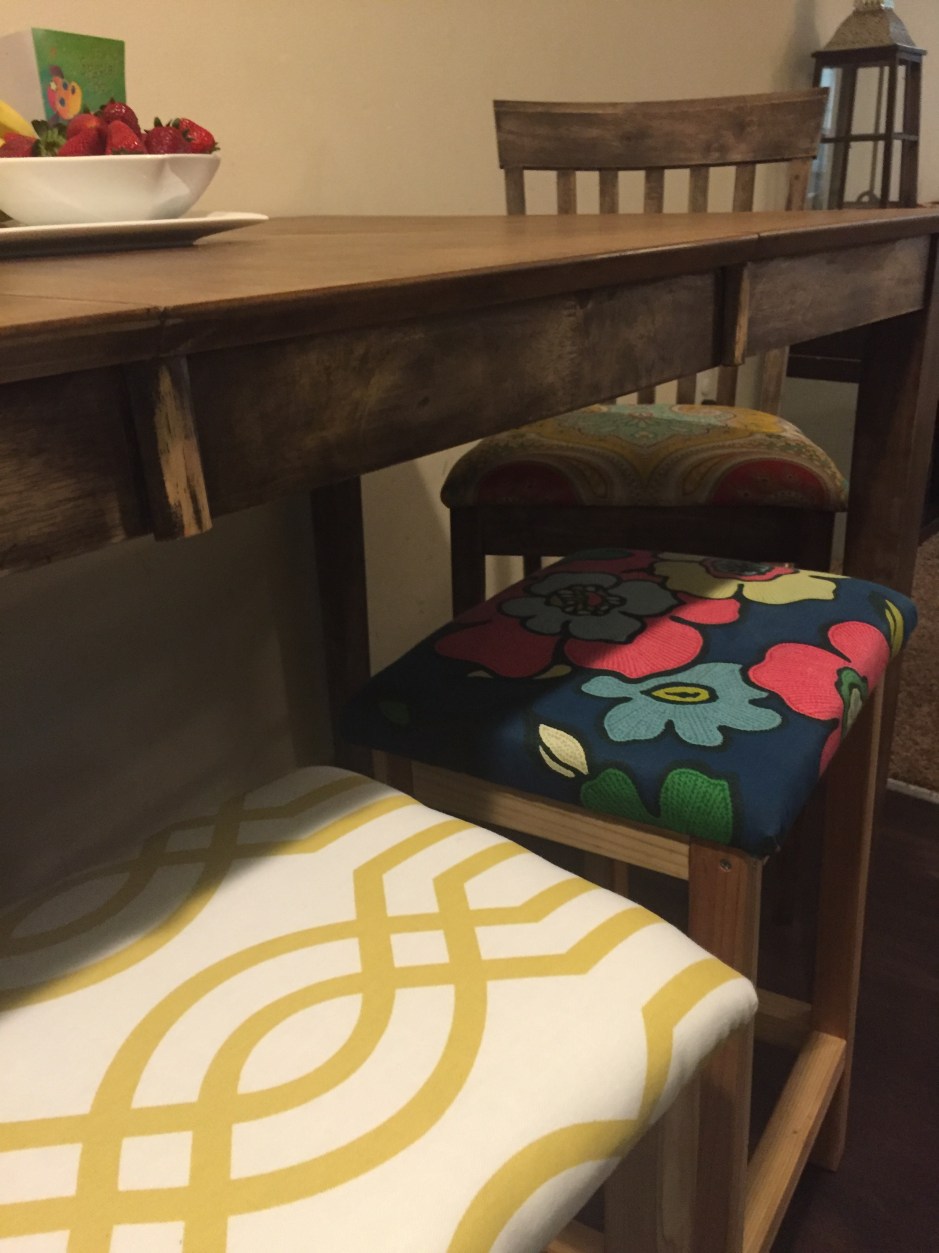
Re-upholstering the kitchen chairs was one fun project to undertake especially since my vision included mismatched seating and building two new stools to complete the refinished table project.

Let’s begin with the inspiration:

This beautiful dining setup took my breath away. Besides the rush of natural light, the mix of bright and bold print along with the weathered table and chairs is a winning combo in my book.  I had to have it and since this particular print is way above my budget, I had to adjust.  Hey, I’m used to fiscally adjusting, so it’s no probs.

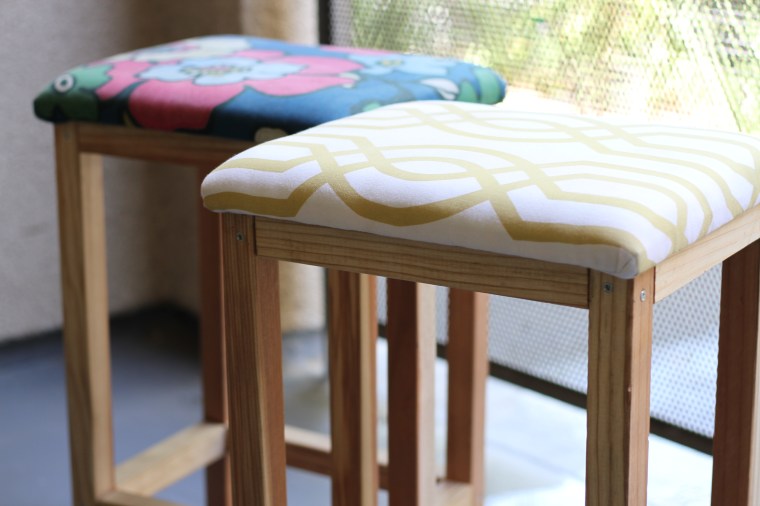
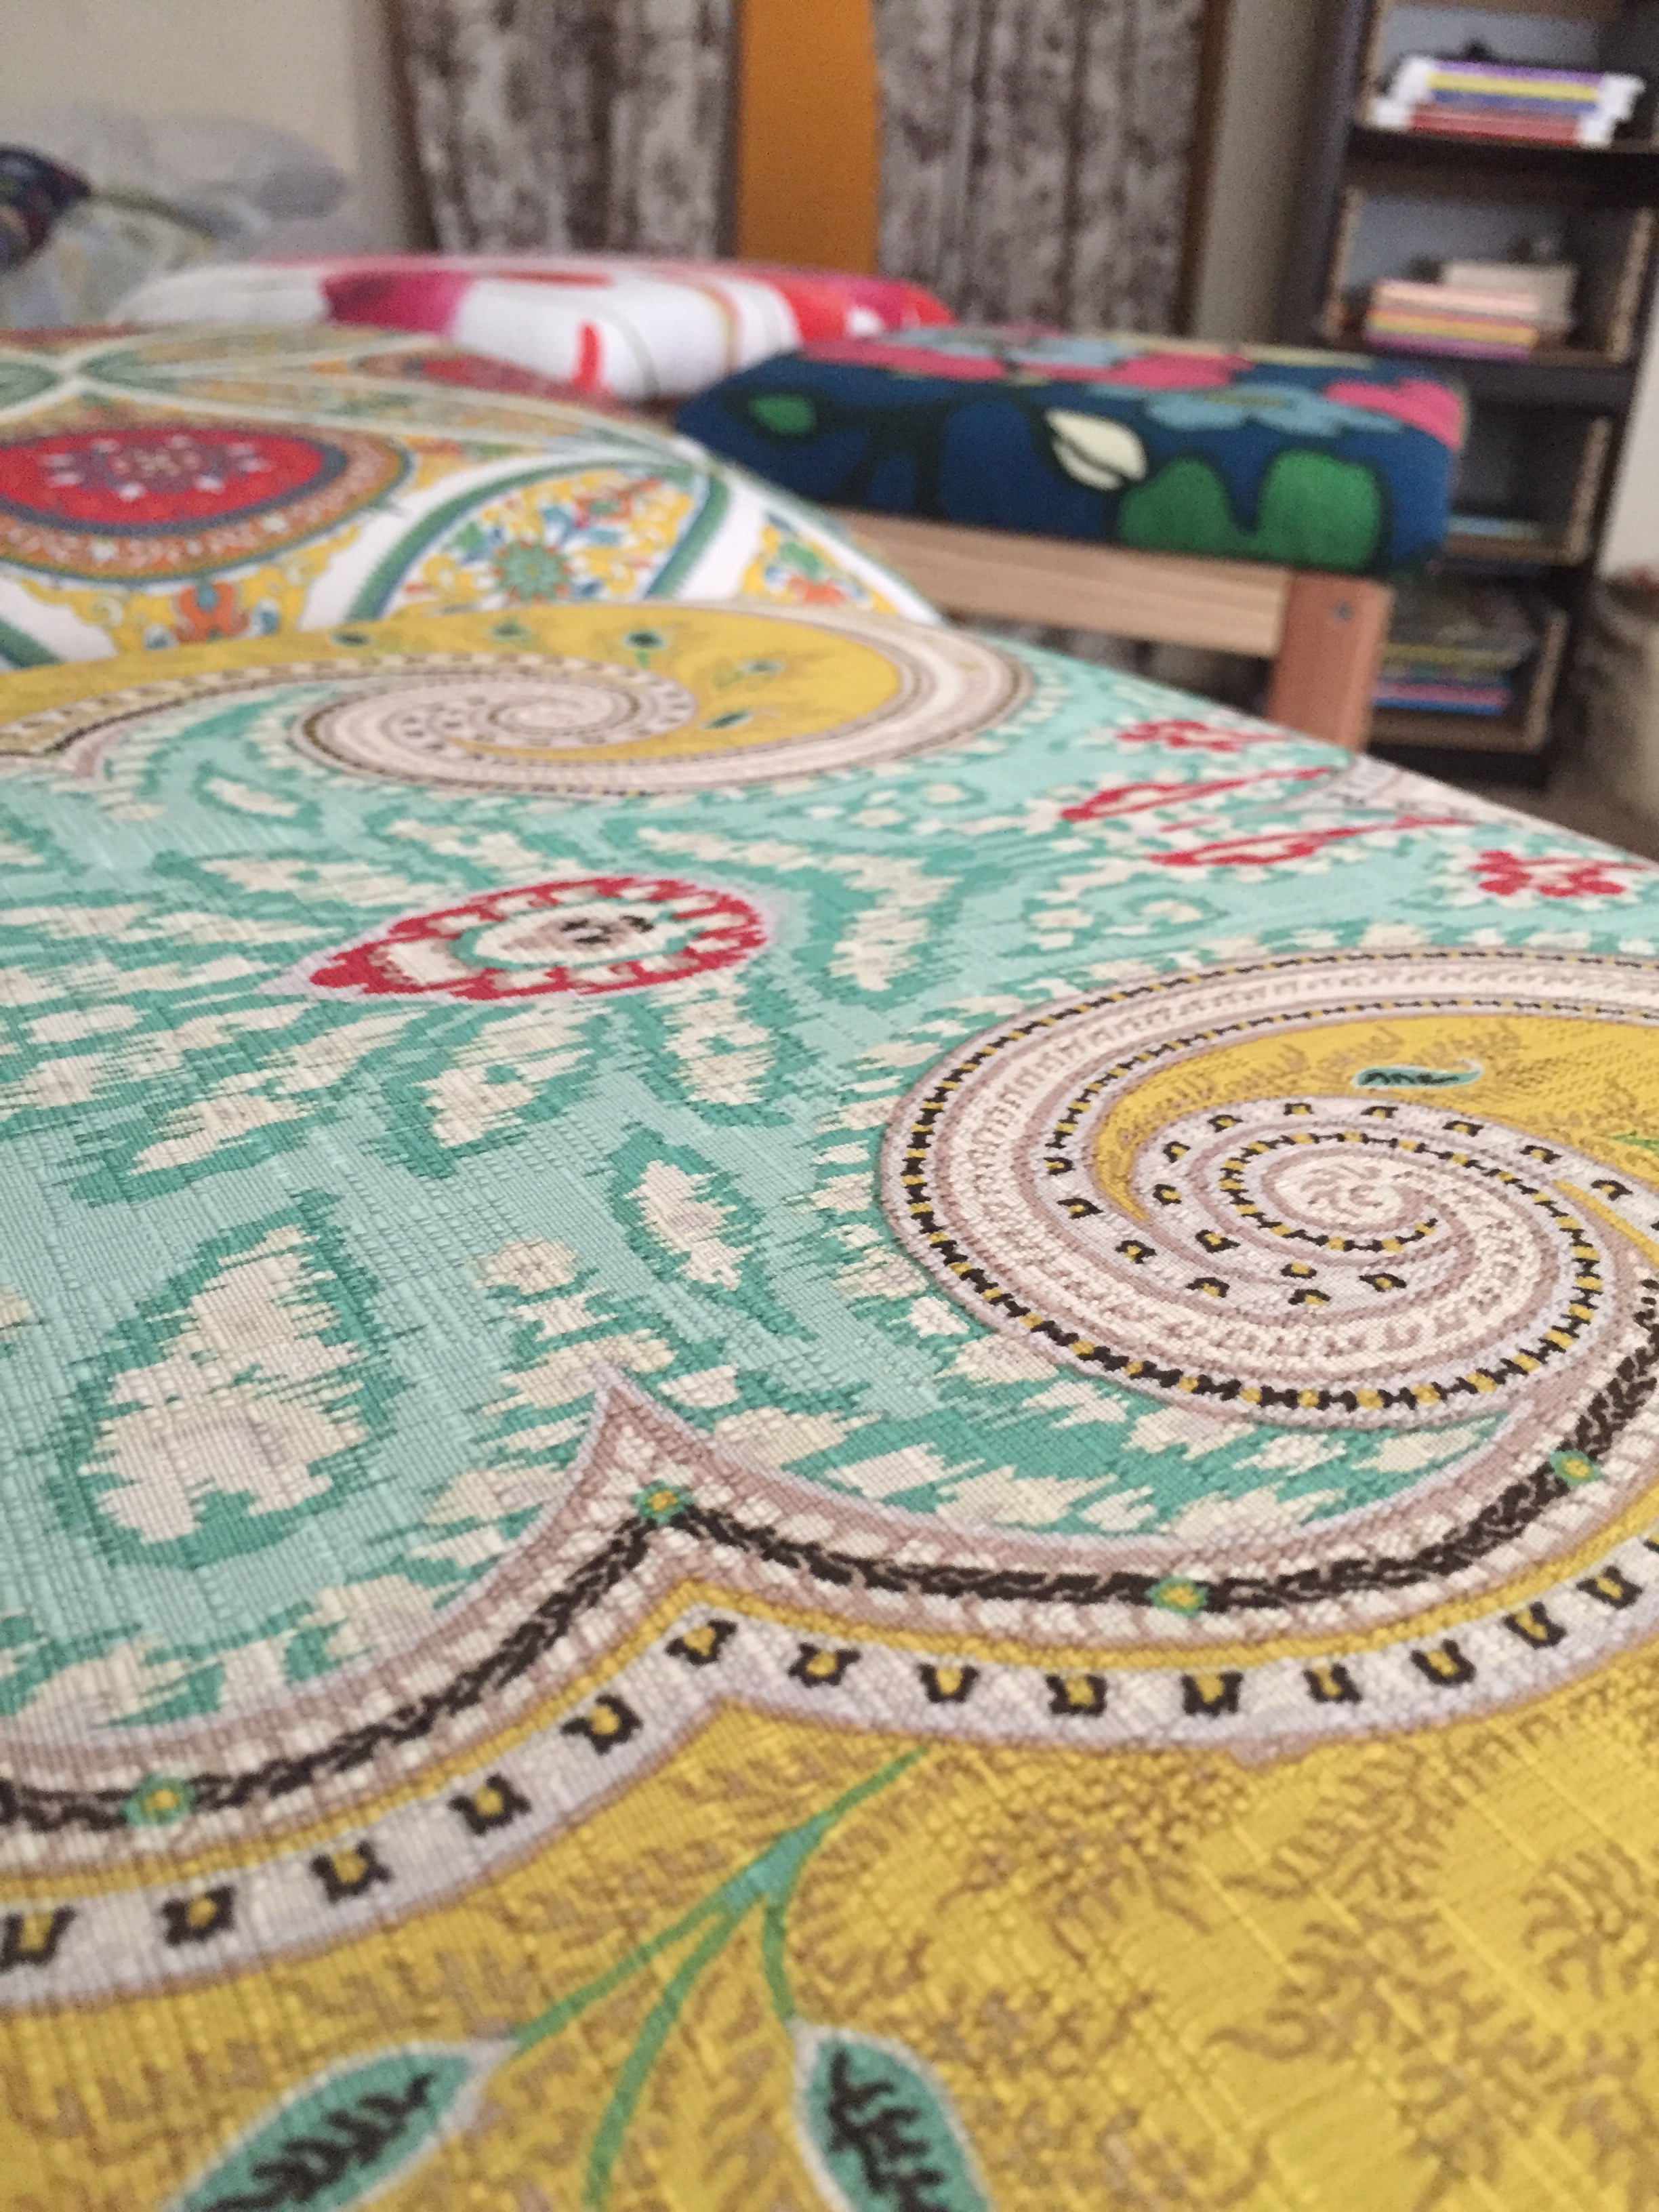
Next it was time to shop for prints:

I knew I wanted bright and bold floral types of print.  I always intended to use table cloths or shower curtains for my upholstery fabric since it is easy to wipe down.  I still have two young boys who have holes in their chins.   No luck with the laminate table cloths (absent of cute prints) or outdoor fabric (expensive) but found the mother lode in affordable, beautiful, water and stain resistant cotton table cloths at Marshalls, TJ Maxx, Ross and Burlington Coat Factory.  In the end I used both table cloths and a shower curtain! (Yep. can you tell which one?) to upholster the stools and re-upholster the chairs.  Remember these aren’t your mama’s shower curtains.

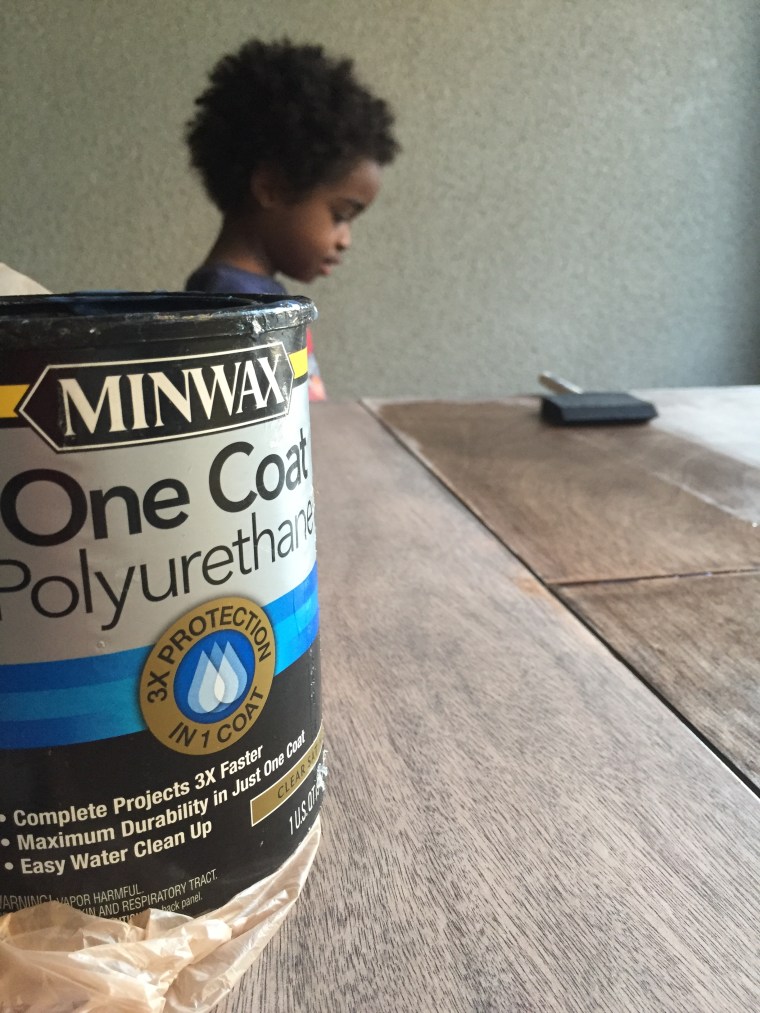
Next it was time to purchase and cut wood for the 2 bar stools I was building:

The two bar stools were built using these plans from Rogueengineer.com.  Although I made my seating a bit wider than their plans called for, I loved their easy, simple, visual instructions.  As a newbie it worked perfectly.

IMG_7310.JPGFor the seats, I used left over plywood from the storage bed build project and had it cut to size at Lowes.  I also loaded up on a staple gun and staples.  Then off to buy batting and foam from the fabric store.  Since the two original chairs already had batting and foam, I only needed to cut off its old fabric, measure and staple the new.

Taking out the staples on my two kitchen chairs were probably the most challenging part of this upholstery project. Oh yeah, choosing which fabric would go where was a bit exhaustive not from intensive labor but from indecisiveness and fear of making a bad choice.  In the end, I am satisfied.  My farmhouse dreams on an apartment budget are shaping up.

img_3199

Thanks for reading,

altesa.

My DIY Epiphany: Trust your instincts.  Take the risks.  You have the advantage of changing something you don’t like anytime you choose.


The Kitchen Table: Farmhouse Dreams on an Apartment Budget

Bringing my farmhouse dreams on an apartment budget to life one DIY project at a time.

First up, the kitchen table.

OUT WITH THE OLD.  IN WITH THE OLD?

( I forgot to take an official “before” photo of the table, so I dug this up. The spiders at our home are unusually big but harmless.  They even pose for pictures.)

IMG_3849

We were given this kitchen table set for a wedding gift 8 years ago. Perfect then, not so much now.  The once desired espresso finish turned into a scratched up nightmare. The rich color no longer stood out against the dark brown flooring that was recently added and it all became a very undesirable blah!

Yes, I was itching for a brand new table.  However, budgetary constraints forced me to redefine new.  Isn’t it great how budgetary and space limitations force creative adjustments?  I would get my new table, by way of a DIY refinish job.   So I gathered my materials:

Citristrip Stripping Gel, goggles, gloves, industrial garbage bags, 4 aluminum foil pie  pans, paint brush, sponge brush, drop cloths, steel wool #0000, scrapers, sander with 220 grit sandpaper…

and went to work.

AM I DONE YET?

I had to apply several applications of the Citristrip.  Since using another chemical, like mineral spirits, to help remove the residue was not an option for me, I used the steel wool pads with soapy warm water mixture (dish detergent) to scrub down the excess stain before finally sanding.   I also experimented with vinegar, isopropyl alcohol and bleach on three separate occasions to test their success with removing residue. They made some progress but nothing worked better than the Citristrip, a steel wool pad and some muscle with the exception of sanding of course.  It was around this time that I discovered my table is not wood but actually laminate.  You know the stuff that most kitchen cabinets are made from.  I didn’t let the disappointment stop me.

It took me about a week to complete this project because it turns out there are also 4 legs with 4 sides each to them plus 4 apron sides to the table as well that needed the exact same attention as the top.  Let’s not talk about the chairs. Yeah…no return.  Remember to prepare yourself for some pretty long days applying, scraping and cleaning when you embark on your table and chair refinish project.

Although very messy and time consuming -all the nooks and crannies between the table and chairs left me worn out- it is very satisfying to have persevered and to get to see everyday the results I once imagined.

IMG_3049
I like the washed out look but need protection on a kitchen table where two boys grub out.
DELIBERATELY IMPERFECT

I thought I’d need to re-stain, well, paint the table (It’s laminate!) in order to get the rustic, worn look I wanted. But it turned out just fine after stripping and sanding.  Yay! (Plus I was tired.)

Finally, I used Minwax One Coat Clear Satin to finish off the job.

IMG_3351
Laminate kitchen table with mismatched seating.
FullSizeRender-1
The beauty of a rustic look is it’s imperfections

Next on the list to farmhouse dreams on an apartment budget:  Simple bar stools and upholstered seating.

Thanks for reading,

altesa

My DIY Epiphany:  Don’t give up. Take a break. Get perspective,  but don’t give-up.


DIY Easy Peasy Twin Storage Bed and it’s Mini Me

IMG_2960.JPG

With 2 boys and limited space, I want bed frames that are both sturdy and functional plus easy to make and affordable.  So I decided to build a simple platform Twin and Toddler bed frame with open storage. This is my first DIY project and these were my internet inspirations. RED, BROWN

This project per bed took me @1 day to build, and @2-3 days to sand, stain and finish. I will detail the staining and finishing experience in another post. In the meantime…

Let’s get to the building materials and supplies needed in a nutshell.

TODDLER

2- 1/2 inch Plywood sheets, cut 29in wide x 52in long

1- 2x12x8  @29 inches long , cuts 3

Wood Screws- 2 1/2 – 3 inch long

Wood Glue- Your choice

TWIN

2- 1/2 inch Plywood sheets, cut 39 inches wide x 75 inches long

1- 2x12x16 @39 inches wide, cuts 4

Wood Screw- 2 1/2 -3 inch long

Wood Glue- Your choice

Now for those who like me, could use some explaining, below are details -with pictures!

Regarding the Lumber —  You will need to purchase 2 full sheets of at least 1/2 inch thick plywood for the top and bottom of each bed. 1 sheet is @48 inches wide and 96 inches long. Plenty of wood. I asked my local Lowe’s guy to cut the 2 sheets of plywood to the dimensions I needed. There will be wood left over.  If you’d like, save that extra for a smaller project.  I did! and will post soon.


You will also need to purchase 1- 8ft long block of common wood (Toddler) 16ft long(Twin) at 12 inches high and 2 inches thick of Green Douglas Fir (Lowe’s) or Pine(Home Depot). These will make up the sides and center of the bed (aka support). 8 ft will allow you to cut 3 pieces @29 inches each piece for the toddler and 16 ft will allow you to cut  4 pieces @39 inches each piece for twin. The 12 inch height allowed for a greater storage space but you may go for a lower height.  Again, my local Lowe’s guy did the cutting.  Thank you Adam!

IMG_2818
2x12x8 common wood
IMG_2817
12 inches high

Wood Screws —You will need to buy 2 1/2 inch  to 3 inch long wood screws.  In addition to the length, there are various size screws to consider as well.  It measures the thickness of screw and width or diameter of the screw head. 6, 8, 10, 12 even 14.  This was perplexing because no one mentioned this part in their blogs or videos. I mean no one. Not even Ana. Perhaps it is common knowledge.  But not for this sister.  I opted for size #10 in part, on the advice of another shopper dude in line with me at checkout.  He told me it didn’t matter what size I chose. The screws are there to keep everything together until the glue dries. Enough info for me.

Wood glue — I used Titebond II and Elmer’s Wood glue.  I switched to Elmer’s because it claimed stainability.

I forgot to mention a good, reliable crew is great to have as well. This is mine. They work for food.

Once we got the hang of drill bits and driving bits, torque, speed and pre-drilling, everything was easy peasy, for the most part. There was that time we googled ways to unscrew stripped screws. Below are pictures of the toddler bed project. The twin build has an identical process except it is bigger with an extra set of storage space.

Overall this was a very simple weekend project. I am very happy with the results. You may think, nice, but it looks like a table.  Once the kid grows out of the toddler, I plan to use it as such or a day bed, oooh the possibilities.  For now, I plan to place baskets underneath when I find or make the right ones.

Thank you for reading. I hope my experience here (at least) cuts in half your trips to the hardware store, saving you time and gas.  At most, may you be inspired to start what you’ve only thought about till now.

Check out Farmhouse Dreams On An Apartment Budget for more DIYing it.

Thanks for reading,

altesa.

P.S.

My DIY Epiphany:  Just start.  You’ll be glad you did.